Every once in awhile we stumble across an "original" car, which isn't quite as un-molested as we were led to believe. Unfortunately this very low mileage B-body Mopar had some hidden history despite rarely seeing the road.
The owner of this 1970 Plymouth Road Runner did in fact know about the previous repairs in the lower quarters, however, the rocker panel was a surprise. 1" of mud is NOT how to repair major damage. Ever. No excuses. Here we take you step by step through the repair process, to correct a horrendous repair job done several years ago.
 |
| 1970 Plymouth Road Runner being mechanically stripped of all paint |
The work is just getting started. Continue reading...
 |
| Passenger side rocker panel shows a few signs of trouble right away |
 |
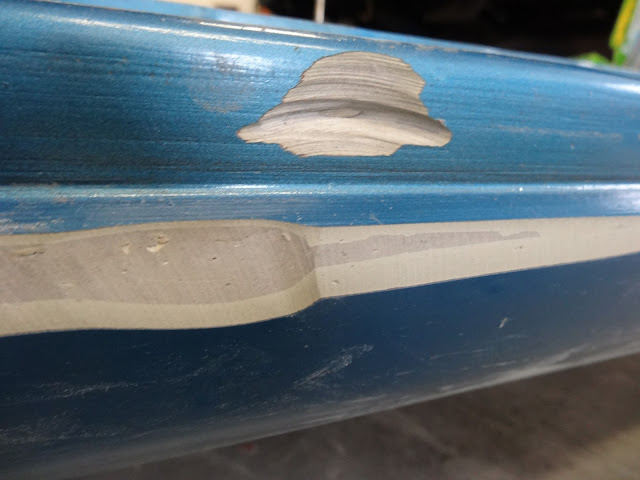
| The previous repair on the '70 Roadrunner was obviously pretty heavy on the body filler, Anything more than a skim coat for final straightening is too much filler. This is approx 1/2" deep! |
 |
| One big chunk of body filler removed from the previously repaired area. Perfect example of TOO MUCH FILLER |
 |
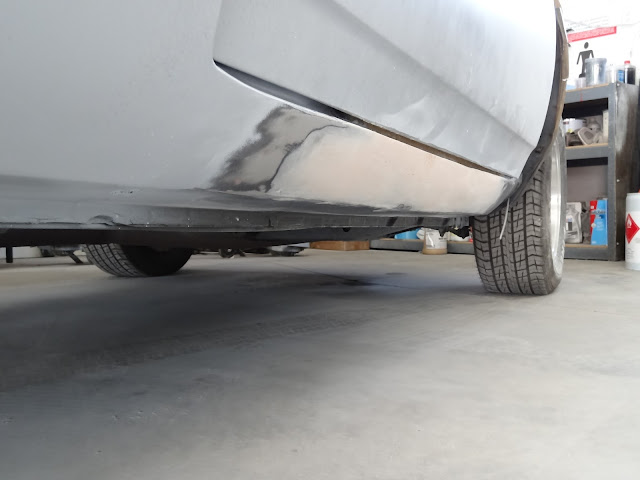
| Top view of Roadrunner rocker panel showing how far the panel is dented in |
 |
| After digging out the filler, we've now seen the extent of the damage and will remove all the affected metal on the rocker panel to be replaced with a properly shaped metal repair panel. |
 |
| A second look at the damaged panel |
The 1969 Roadrunner's rocker panel repair, is started...the CORRECT way:
 |
| 1. Remove damaged sheet metal and inspect the interior surfaces for damage and rust. Luckily the inner structures appear to be just fine in our case. |
 |
| 2. Shape replacement panel from correct gauge bulk sheet metal. Fit and align the patch panel, then tach weld in place |
 |
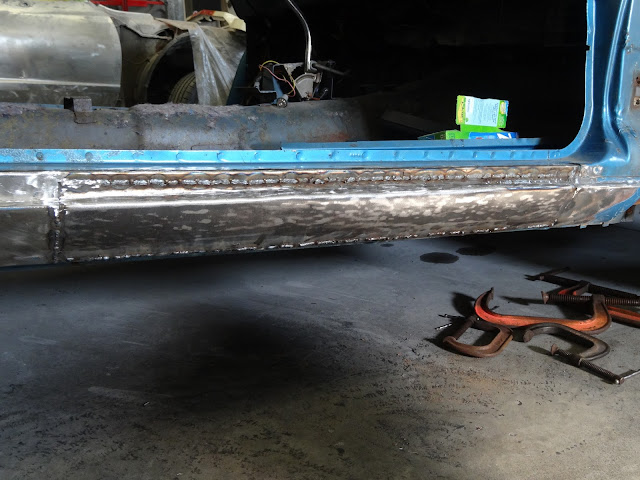
| 3. Weld your patch panel in place while distributing your welds around the panel to prevent excessive heat and potential warping of the sheet metal |
 |
| 3 continued: A closer look at the welds and the patch. The contour of the panel fits the orignal lights correctly and the upper lip must be correctly shaped and straight to ensure the door will close! Always check your repair panel's fit! |
 |
| 4. Grind your welds smooth, Locate any holes or areas that need additional welding, fill the holes and grind to prep for epoxy primer |
 |
| 5. Apply epoxy primer as the first layer for the best barrier to moisture in the future |
 |
| 6. Apply Fibral Polyester filler or similar type of product. This is a waterPROOF filler as the base layer over the epoxy primer for the repair area. Here is it roughly apply and will be sanded smooth as the first skim coat |
 |
| 7. The Fibral polyester body filler is sanded smooth. Now we install the door to check for fit of the repair and even door gaps for the next straightening skim coats to be applied. |
 |
| The rocker repair is completed and the door jamb and car's exterior is in a fresh coat of base clear with the color Crimson Red from PPG that the customer selected. |
 |
| The final result, a show stopping Mopar! |
For more tips and photos of restoration work visit our
website and like us on
Facebook!


That is really nice to hear. thank you for the update and good luck. Garage Doors Repair Wizard Mooresville
ReplyDelete