1970 Rallye Gauge Rebuild with Tic Toc Tach
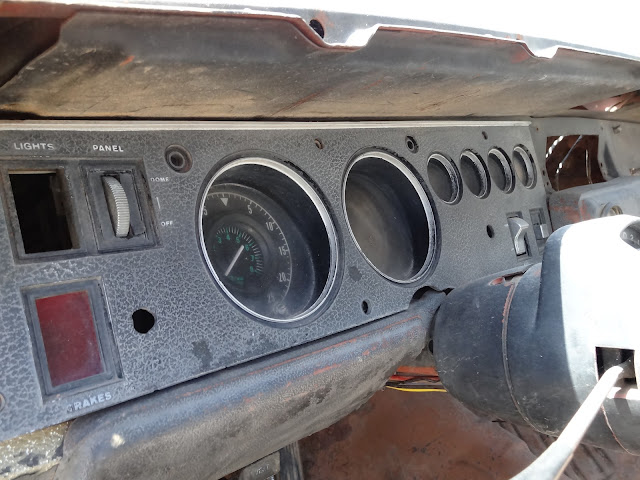
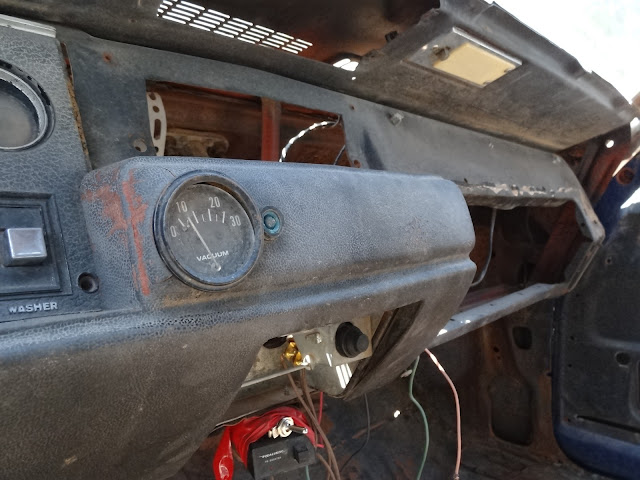
While we typically try to restore and re-use original parts, replacing the gauges and gauge face parts on this 1970 Dodge Charger R/T was a necessary upgrade. None of the gauges were operating or in restorable condition, including the tick toc tachometer. The dimmer switch was non-functional and there was an assortment of "custom" additions to the dash area (random toggle switch and button anyone?) and critical deletions...like no heater box, radio, light switch, faceplate, glove box etc. Needless to say it was a mess.
In this case we removed the entire dash, steering column wiring and everything associated with the firewall as the car was undergoing a complete restoration. This makes it much easier to get the gauge cluster out. You can remove the whole cluster from the front of the dash if you need, to but we'd recommend masking off the painted areas and dropping the steering column. Small hands help reach all the connections too!
Continue reading to view the process...
We made sure to order all the parts in advance so that removal, test fitting and re-assembly could happen in the span of a day or so, limiting the chance for any parts, and memories of how they are put together, to wander away.
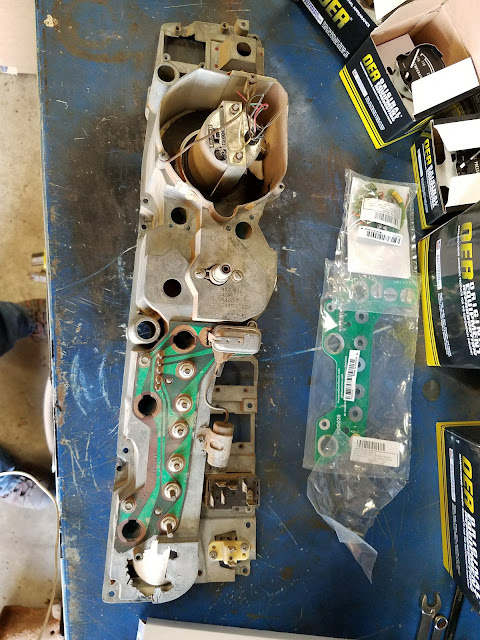
Bench testing new gauges out of the box is definitely recommended (thank you OER for random faulty new gauges). Even if you do everything right, be prepared for some electrical troubleshooting if you decide to take on this task with aftermarket gauges and switches.
 |
| OER was the source for new replacement gauges in this situation. We did have issues with functionality of a couple of them after installation, including the Tictoc tach and had to replace the new gauges a 2nd time before the dash was working correctly. |
 |
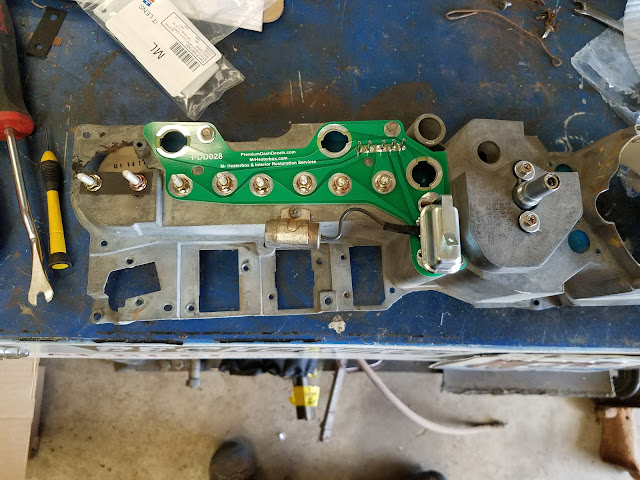
| The circuit board at the back of the cluster was also replaced. These often cause issues with gauge malfunction if a car has sat in a non-climate controlled storage area for any period of time. And better safe than sorry if everything else is getting overhauled. |
 |
| New gauges and circuit board installed |
 |
| Gauge bezel replacement |
 |
| Mini torch and a flat screwdriver are used to melt the plastic tabs and secure the gauge face. Be sure to heat the screwdriver and press down until the tab is fully flattened. Do not apply torch flame to the gauge face itself |
 |
| New gauges and bezel installed on the original housing we cleaned up |
 |
| Before and after cluster restoration |
 |
| Restored dash housing with new cluster components and rebuilt heater controls installed |


No comments:
Post a Comment
Leave your treadmarks: